Dec 5, 2013

Quick Look: Bold Cheeks and Lips

Today I didn't really go anywhere or feel like doing any dramatic makeup but I was playing around with some lipcolours and came up with this look. I applied Impulse Cosmetics Gamble lipstick over Hard Candy's All Glossed Up Hydrating Lip Stain in Love Bite. It made Gamble look a bit pinker which I really like. It is like a berry pink. The combination of the two on my lips is also really hydrating. I think this will be a good lip for work too since it will probably fade well due to the stain underneath.

I filled my eyebrows in and I kept my eyes plain with a quick coat of mascara, but loaded up a ton of pink blush on my cheeks. I used my trusty NARS blush in Mata Hari. I love this blush! It is my go to everyday blush, just sheered out a lot more normally. Anyways, enough talking here is the look:


That's it. It was really simple, I hope you like it.

Dec 2, 2013

Review: NYX Doll Eye Waterproof Mascara

I decided to try this mascara out when my last one ran out. I had been using one of the Scandaleyes mascaras and while I didn't hate it, it wasn't the best. I normally really like NYX products so i decided to give this a shot. I bought the black Doll Eye mascara in the Waterproof formulation from my local drugstore. I can't remember how much I paid for this, but I think it was around $10. The NYX website seems to be down right now so I can't check what the price is there.


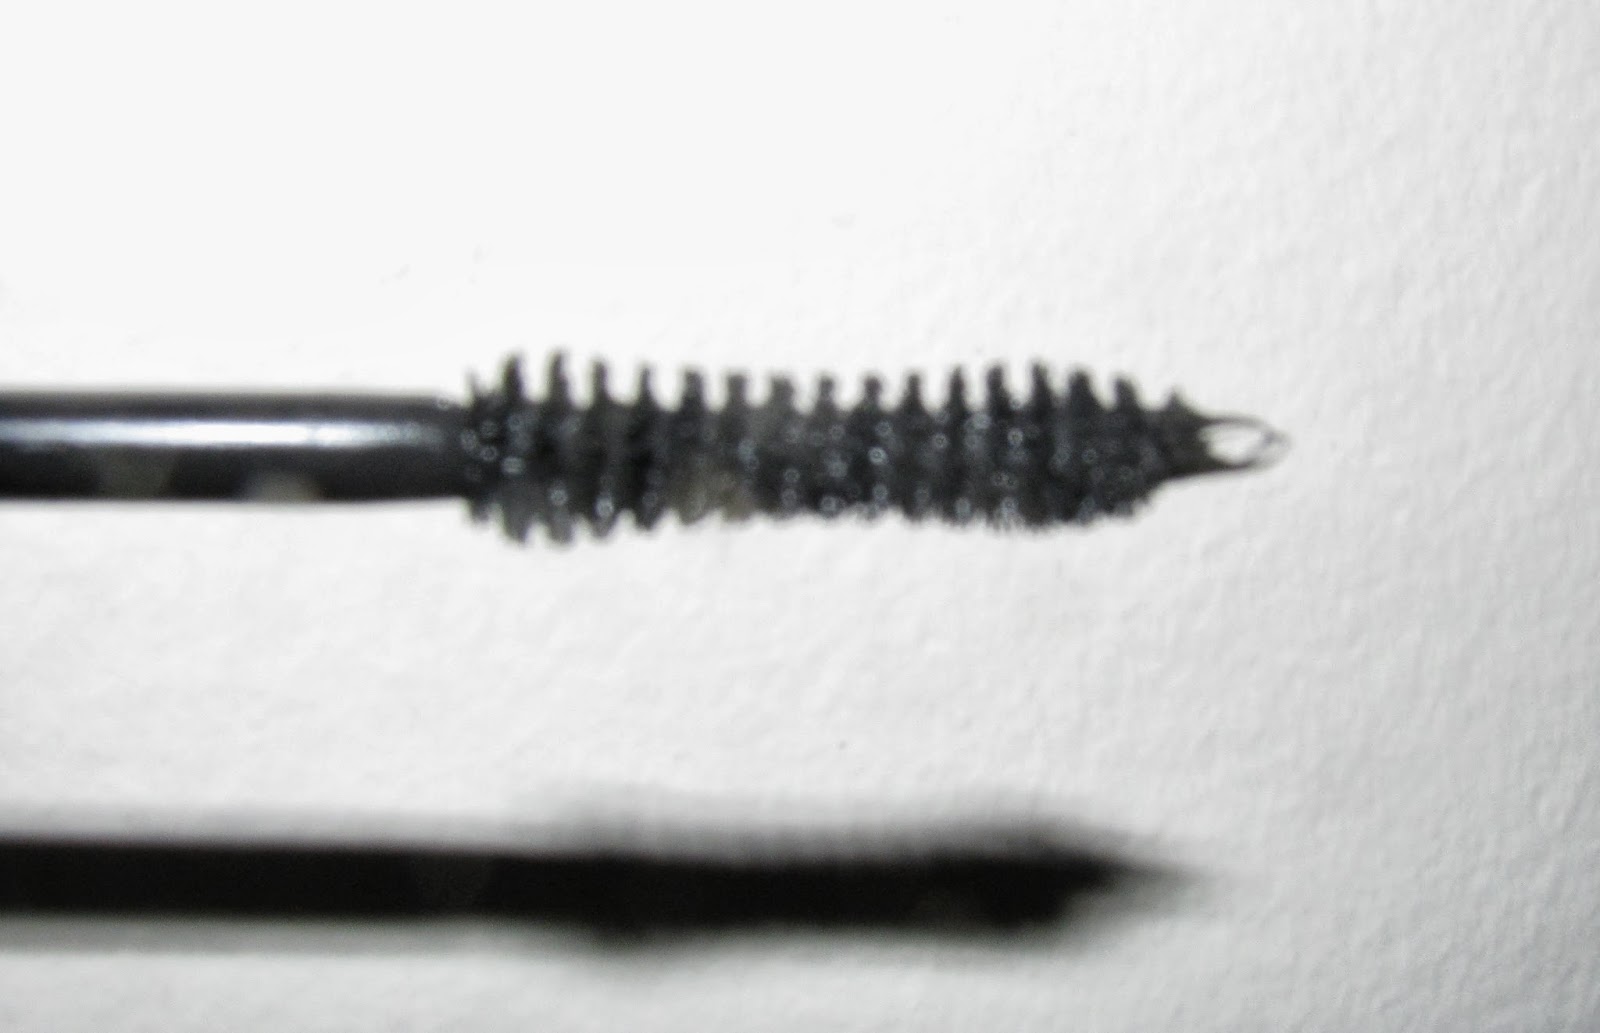
This is what is looks like. Mine is kinda gross from being in a purse all the time though. I actually really like the packaging. It is a slim, bullet shaped, shiny tube. When you open it up the wand looks like this:


I also quite like the shape of this wand. It is fatter at both ends so it goes with the shape of my eye really well. I can get mascara on the corner eyelashes much more easily. It is also not enormous like some wands that I find difficult to use. The main problem with all of this is that the tube dispenses too much product onto the brush. If you look closesly at the picture there is a huge glob of mascara on the end of the wand. I often find myself desperately trying to scrape that glob back into the tube to avoid getting it all over my face, only to get it all over the tube instead.

As for the formula? It's ok. Not great though. It does a fairly good job of lengthening and thickening my lashes, but it certainly isn't amazing. It does get clumpy very easily if you start adding extra layers though. Here are some before and after pictures with 1 oat of mascara:


Not bad looking, eh? But the biggest problem with this mascara is that it is absolutely not waterproof. Not even a little bit. In the shower it is mostly gone in minutes. It also starts to wear off if you have very watery eyes, like I do when I walk outside in the wind. I doesn't run in black streaks down your face or anything, but it starts to flake off really quickly when wet. I don't have any clue why they decided to call this waterproof.

So overall this mascara is only ok. I would have actually liked it quite a bit if it had been at all waterproof, like it claims to be. I was pretty disappointed at how fast it broke down when wet.

Dec 1, 2013

DIY Beauty: DIY Witch Hazel Toner


I have almost run out of my witch hazel toner, which means.... It's time to make my own!!! I love saving the last of my bottle of witch hazel toner to use in making my own. It is a great way to make everything last longer. It means I can go twice as long before picking up a new bottle of toner. If you don't use witch hazel toner, you can buy a plain bottle of witch hazel at the drug store and put a few teaspoons into your toner mix instead. When buying a witch hazel astringent at the drug store make sure it is alcohol free.

To make a witch hazel toner there are a few main ingredients you will need. Everything beyond these is optional.

- Distilled Water: about 1 cup. I don't normally measure I just fill my bottle about halfway. You can buy distilled water at most grocery or drug stores.
- Witch Hazel: Either what is left in your bottle of witch hazel toner like me, or 3-4 teaspoons of the kind found at the drug store. If using the end of a bottle of your own toner, it wouldn't hurt to still add 1-2 tsp of regular witch hazel still.
- Glycerin: About half a teaspoon. This helps to even out your skin and provide a smooth surface to put your makeup on to.

Those were all the essential ingredients. So far, this is a pretty boring toner and won't do all that much for your skin, so I like to add a few extra things.


- Tea Tree Oil: You can buy this at the drug store. This helps to clear acne and cleanse the skin. I add about 4 drops of this. If you aren't adding any other essential oils, or you have severe acne, you can add a few more drops.


- Gurjun Balsam Essential Oil: This is the essential oil I decided to add in addition to everything else. I haven't tried this one before, but I think the scent will go well with the tea tree oil. I'm not sure exactly what effects it has on skin, research hasn't shown much yet, but I found it listed in ingredients for a few skincare lines so I decided to go for it. I ordered this online from this Etsy store. It is called Fabulous Frannie's and they sell some great essential oils! They have a really large selection too at pretty great prices.

You can add any combination of essential oils that you like as long as you don't add too many at once. Once you have decided what you want in your toner pour it all into the bottle that has your leftover toner in it and shake well. It's that easy! I like to store this toner in the fridge, since it doesn't have any preservatives or anything in it. It is also really nice to apply this to your face when it's cold! In my experience, when kept in the fridge, this will last about 6-8 weeks. If you leave it out of the fridge it will probably last a few weeks less.

Well, that's it for my first toner recipe. I have a few more coming soon for those of you who don't have witch hazel!

Nov 30, 2013

Review: Revlon Colorburst Matte Balm In Mischievous

I was at the drug store a little while ago for a few other things and happened to walk by a display for the Revlon Colorburst Matte and Lacquer Balms. I knew I had to try one after hearing all of the hype about them. I decided to go with a matte one because I prefer matte lips. The colour I chose is Mischievous, a bright orange. I was trying to decide between this and the dark purple colour. I have no idea what made me choose this one when the purple would have been much better for the season, but here we are.


The packaging is the fat twist up pencil type that has become so popular recently. I really like this kind of packaging, I think it makes it very easy to apply. This feels much sturdier than the Hard Candy lip product that I have in very similar packaging. I would describe the colour Mischievous as a Salmon. It is quite orange with a slight pinky tinge to it. If you have ever seen uncooked, wild salmon, this is what it reminds me of.


When applied to the lips it has a slight cooling effect. It does smell a bit minty but I honestly can't smell it at all when I put it on. As for the formula, I really like it. It is very pigmented and truly matte without feeling drying on my lips. This colour goes on a bit patchy and makes rough patches on my lips stand out a bit more though. I have watched and read a few reviews since buying this though, and it seems like I picked the only colour that has this problem. Why didn't I go with the purple?!?

Aside from that little problem, I do really like this product. It is pretty long wearing and once it dries it doesn't seem to transfer very much. I'm not saying it doesn't transfer at all, and it certainly won't last through a meal unscathed, but it did pretty well. Here is a quick swatch of it on my lips:


So there it is! What do you think? I am definitely planning on adding more to my collection, starting with that purple! Have you tried any of the Revlon Colorburst Matte Balms? What did you think?

Nov 29, 2013

BH Cosmetics Black Friday Sale

I won't be doing any crazy shopping today. I'm actually just heading out to work, but I wanted to let you know about one huge sale that I thought you crazy shopping makeup lovers would like to hear about. The BH Cosmetics Black Friday sale is going on now and it is huge. Their products will be up to 70% off! This is off of products that are already very reasonably priced. Some of their 120 palettes are on sale for about $11 right now, so go check it out here. US residents also get free shipping on orders over$50! I use BH Cosmetics products almost daily and love their huge eyeshadow palettes. Don't miss this great sale!!!

Nov 28, 2013

Quick Look: First Holiday Look

I don't normally get into the Christmas and holiday season this early, but here in the blog universe it seems like Christmas could be tomorrow. I couldn't help but hop on board, so here is my first Christmas look! (I'm sorry if those of you celebrating Thanksgiving today think I'm crazy for posting this today, but that happened weeks ago here!)


Please excuse the messy hair! This eye look was done with a combination of MAC's Stroke of Midnight Eyes in Smoky palette and MAC's Humid eyeshadow. I was trying to decide what to to with the Stroke of Midnight palette. It has that gorgeous gold with green undertones in it called Gaelic Gold and I noticed that it would go perfectly with Humid which is a dark green that has gold shimmer.


I basically used Gaelic Gold all over the lid and Humid in the crease. I deepened the crease with the dark brown in the Stroke of Midnight palette and used the frosty white from the same palette in the inner corner. I'm loving this inner corner highlight! It is called Chillproof from MAC. I blended out the green at the top with pale green and beige from my BH Cosmetics 88 Matte palette. I used humid on the bottom lid as well and then lined my waterline with a forest green eyeliner. I didn't line the top lash, just put on mascara.

On my cheeks I have MAC's Mineralize Blush in Talk of The Town. The lipstick I used is Rimmel's Lasting Finish Lipstick in Jet Set Red. I am now wishing I had used a darker shade of red. Something more cranberry would have been better.


Well, that's it for my first holiday look. I hope you liked it. Have you been getting into the holiday season already?

Nov 27, 2013

Review: MAC Divine Night Mineralize Blush In Talk of The Town


If you recall, I recently went to a MAC event where the sucked me into buying some products I didn't need. You can read about that misadventure here. Regardless of that, the two products that I got were actually pretty great. I got the Stroke of Midnight Eyes palette in Smoky and the Mineralize Blush in Talk of The Town. The blush is what I will be reviewing today.

The MAC Mineralize Blush in Talk of The Town is a frosty, cool toned, pale pink blush. On the website it is described as a "warm brown base with yellow bronze". I would call this more cool toned than warm, but the bronzy finish does help to warm it up. This is part of their Divine Nights collection and is limited edition. This is what it looks like in the pan with and without flash:


The actual colour in this is pretty sheer. It is a very light pink. This is a swatch on my hand with and without flash:


Once applied to the cheeks it gives a really nice pearly glow. The colour is very sheer. If i apply a couple of layer to my entire cheek it makes a light pink wash with a pearly shimmer to it. I much prefer this as a highlight over top of other blushes, though. Here is what it looks like on my bare cheeks:


As you can see the colour isn't very strong. I think this colour is best as a highlight for most people unless they are very pale. It actually has a slight bronzing effect on me. Here is a close up of my cheek:


So, overall I like this blush quite a bit. The pearly finish it gives to my cheeks makes me look radiant. My only complaint is that the finish can also make any large pores stand out a bit more than usual. For me, this isn't a huge deal though. I think this will be perfect for holiday parties this season!

Have you tried any makeup from the Divine Nights collection? What did you think?